Hi friends!! It’s that time of month where my favorite beauty subscription arrived. I love these bags because of how I can try out so many different things, and the brushes I get are always so beautiful. I want to share with you what I recently have received in my August 2017 bag.
Items were –
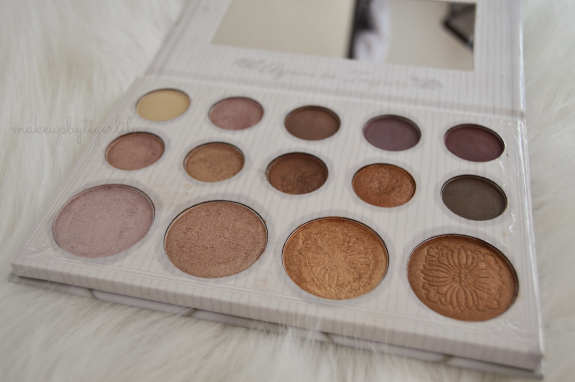
- theBalm Voyage eye shadow in shade WILLKOMMEN – $5.50
- Seraphine Botanicals Illuminating Peach Gold Blush – $14.99
- Steve Laurant Black felt tip eyeliner – $24.99
- Firma Contour brush 103 – $14.99
- First Aid Beauty Deep Facial Cleanser – $24.99
- Peace, Love, Lipstick IPSY bag – $10 a month
I have to take my wisdom teeth out today, so I wanted to take some photos of my favorites in the bag instead of taking a photo of every item to save me some time to rest!!! If you want to see everything up close, let me know, and I will gladly update this post with new photos 🙂

Firma Contour Brush 103
Oh my goodness!!! First of all, this brush runs for almost $25, and that is a huge score for me with IPSY. This is such a soft brush and the perfect size just to get the right angle on the cheekbone or on the bridge of your nose.
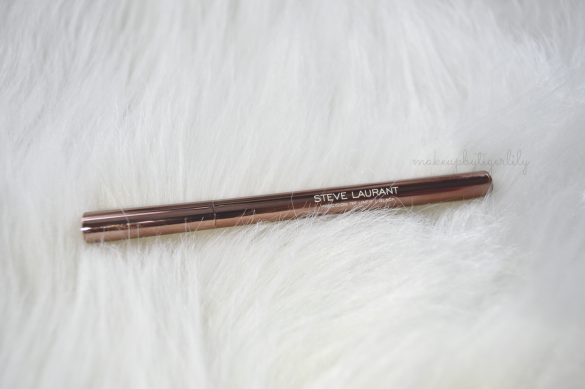
Steve Laurant Felt Tip Eyeliner in Black
Okay, IPSY really went to the lengths to make this bag worth my subscription. This pen runs for $25, just like the brush. When I tested it on my arm, it didn’t come out as vivid as I wanted it to. I had to do about 4 swishes to get it to a good vivid black. I will say the pro of this brush is how precise the tip is. It’s so sharp, and it will really help you get that perfect wing.

Seraphine Botanicals Ginger + Gold Blush
If you know me, you know I love me some good highlighter, and this is it. This is such a beautiful color, and it is the perfect dark rose gold for my skin color. I know this says blush, but the packaging also says I can use it as a highlighter, which is what I’m going to do. They also suggest to sweep it over your favorite matte blush! It is more of a natural looking highlight (if that’s what you want it for), rather than an intense blinding light. If I were to use this, I would use my Fix+ to enhance it.
Here are swatches of the eye liner and blush!

I hope you enjoyed my quick IPSY bag review! What did you get in your bag this month?
As always my opinions are 100% truthful and honest, and I would want nothing else from anyone else! Stay beautiful and keep the highlight shine on!
-Tigerlily